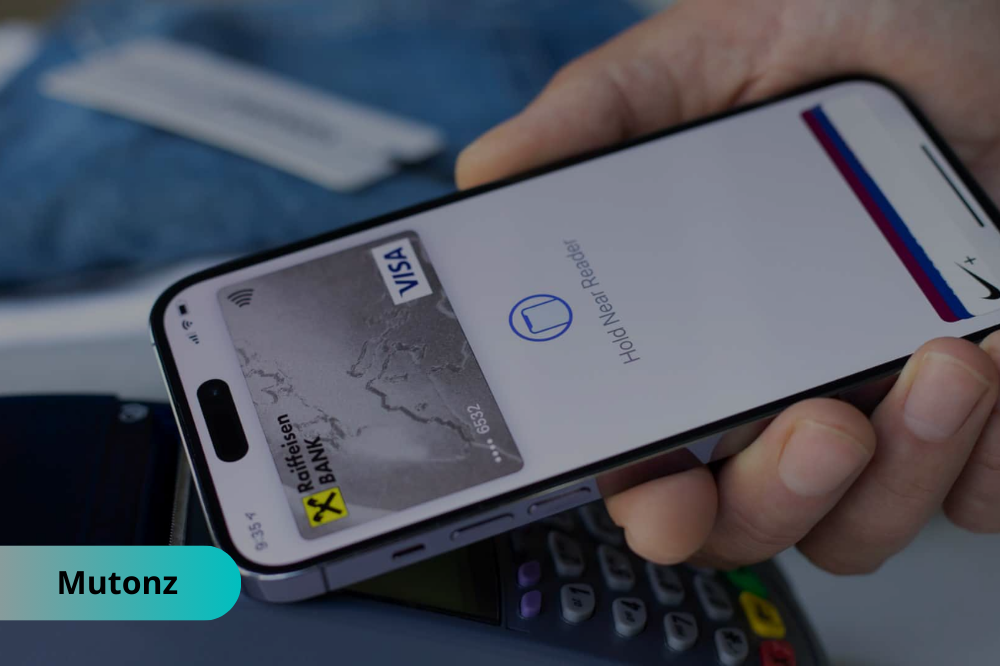
Apple Pay is revolutionizing the way we make transactions, combining speed, convenience, and security all in one touch. With just your Apple device, you can leave your physical wallet behind—no more fumbling through cash or cards. But how exactly does it work, and what makes it such an excellent choice for contactless payments?
This guide will walk you through the reasons to use Apple Pay, how it compares to its competitors, where you can use it, its key benefits, and a simple step-by-step process to get started.
Why Use Apple Pay?
Apple Pay simplifies how you pay for goods and services. It's a digital wallet stored on your Apple device (iPhone, Apple Watch, iPad, or Mac), allowing you to make payments without needing a physical card.
Here’s why it stands out:
- Ease of Use - With just a tap on your device, you can make secure payments quickly.
- High Security - Your card details are tokenized, which means they aren't stored on your device or shared with merchants.
- Reliable Convenience - Apple Pay works seamlessly in various locations worldwide, supporting countless banks and cards.
Whether you're paying for groceries, catching a ride, or purchasing online, Apple Pay streamlines the whole process, making your transactions easier.
Samsung Pay vs. Google Pay vs. Apple Pay
While Apple Pay is incredibly popular, you might wonder how it stacks up against other digital wallet competitors like Samsung Pay and Google Pay. Here’s a quick comparison:
|
Feature |
Apple Pay |
Samsung Pay |
Google Pay |
|---|---|---|---|
|
Platforms |
iPhone, iPad, Apple Watch, Mac |
Samsung devices only |
Android and iOS |
|
Acceptance |
Broad NFC support, apps, and web |
NFC and select MST support |
Broad NFC support, apps, and web |
|
Security |
Tokenization, Face/Touch ID, Passcode |
Tokenization, Samsung Knox |
Tokenization, Password, and Biometrics |
|
Extra Features |
Works seamlessly across Apple ecosystem |
Rewards points with certain cards |
Easy integration with Gmail/Google apps |
Apple Pay works flawlessly for Apple device users and integrates seamlessly, but Samsung Pay offers slightly wider compatibility with magnetic stripe terminals (MST).
Google Pay, meanwhile, has an advantage in its Android reach. Apple Pay, however, remains the top choice for ease of use and security within the Apple ecosystem.
Where Can You Use Apple Pay?
Apple Pay works almost anywhere that accepts contactless payments. Look for payment terminals with the NFC symbol or Apple Pay logo. Here’s where you can use it:
- Retail Stores: Grocery stores, pharmacies, department stores, and more.
- Restaurants & Cafes: Access quick and secure payments at your favorite dining spots.
- Public Transport: Many transit services allow contactless Apple Pay for tickets and boarding.
- Online: Use Apple Pay on websites or apps for faster checkout.
- Person-to-Person Payments: With Apple Cash, you can transfer money to friends and family in just a few taps.
Whether it’s an offline purchase or an online order, Apple Pay eliminates the hassle of carrying cash or cards.
Benefits of Apple Pay
Wondering why so many people are switching to Apple Pay? Here are its top benefits:
1. Enhanced Security
Apple Pay doesn’t store your card details on your device or share them with merchants. Instead, it uses a unique token (Device Account Number) for all transactions, ensuring your financial details are secure. Touch ID, Face ID, or a passcode adds extra layers of protection.
2. Speed and Convenience
Pay with just a tap or a quick facial scan. You’ll forget the frustration of entering long card numbers or fumbling for cash at checkout.
3. Cross-Device Support
Use Apple Pay across your Apple devices. Whether on your iPhone, Apple Watch, or Mac, payments are synchronized and straightforward.
4. Contact-Free Payments
Especially relevant in today's world, contactless payments provide hygiene benefits by reducing physical interaction with payment terminals.
5. Supports Multiple Cards
Apple Pay is compatible with a variety of credit, debit, and prepaid cards. You can add all your cards in one place, making it perfect for keeping your finances organized.
6. Eco-Friendly Option
Less paper, fewer plastic cards—Apple Pay contributes to reducing physical resources used in traditional wallets.
How to Add Your Card to Apple Pay: Step-by-Step
Getting started with Apple Pay is effortless. Follow these simple steps to set up your card and start paying with ease:
Step 1: Open Wallet App
On your iPhone, locate and open the Wallet app. It’s pre-installed, so there’s no need to download anything extra.
Step 2: Add a Card
Tap the “+” button in the top-right corner of the screen to start adding a new credit or debit card.
Step 3: Scan or Enter Card Details
Use the camera to scan your card or manually enter the card details, including card number, expiration date, and CVV.
Step 4: Verify Your Card
Depending on your financial institution, you may need to verify your card via text, email, or a phone call. Follow the prompts to complete this process.
Step 5: Start Paying
That’s it! Your card is now set up, and you’re ready to start paying. Wave your iPhone or Apple Watch near a contactless terminal or select Apple Pay at checkout online.
Tip: To make Apple Pay even more seamless, set your default card by heading to Settings → Wallet & Apple Pay on your device.
Maximize Your Payment Experience with Apple Pay
Apple Pay is more than just a payment method—it's a smarter, faster, and more secure way to handle your transactions. Whether you're an Apple enthusiast or simply want a hassle-free way to manage payments, the combination of expert design, leading security, and ease of use makes Apple Pay a standout choice.
Getting started is easy, so why wait? Add your cards to Wallet today and enjoy the benefits of a contactless, convenient lifestyle. Have more questions about setting up or using Apple Pay? Leave them in the comments below!


 How to Increase Your Credit Card Limit: What Actually Works
  Why was my loan application denied?
  O segredo do Robux grátis no Roblox